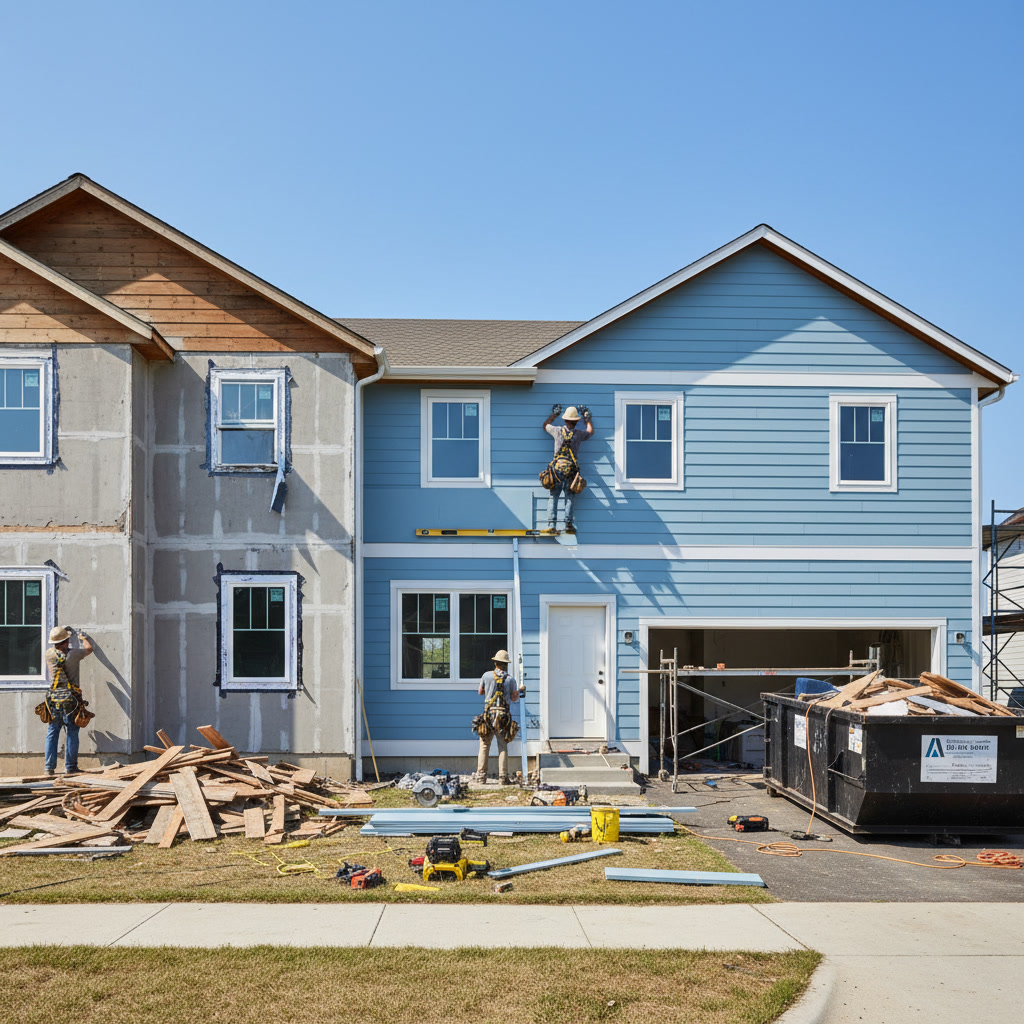
A professional paver driveway installation follows a structured process that includes excavation, base preparation, edge restraints, sand bedding, paver placement, and compaction. Each step builds on the last to create a stable surface that resists settling, drainage issues, and freeze-thaw damage. Understanding this process helps property owners recognize quality work and avoid shortcuts that lead to early failure.
Many driveways fail because contractors skip steps or rush through critical stages. A properly installed paver surface can last 25 to 30 years with minimal maintenance, while a poorly prepared base can show signs of failure within the first year. The difference lies in how the groundwork is handled before the first paver is ever placed.
Why Base Preparation Determines Long-Term Performance
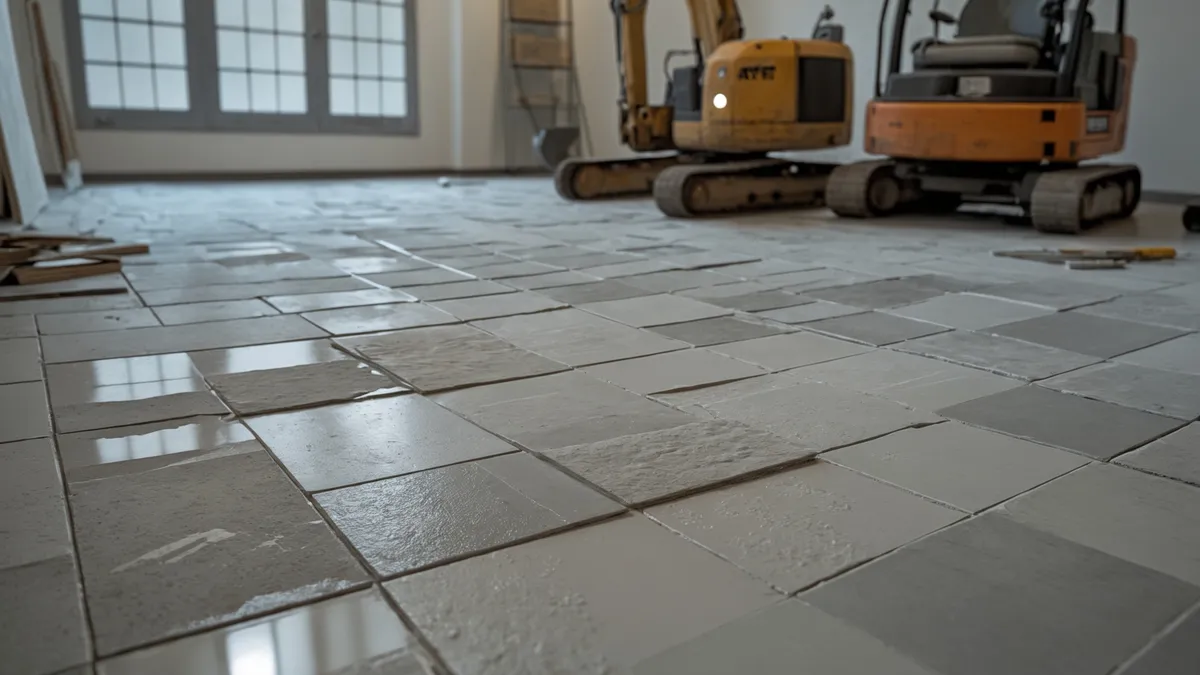
The most important part of any paver project happens below the surface. A strong, compacted base prevents settling, shifting, and uneven surfaces that create drainage problems and tripping hazards. Most residential driveways require excavation to a depth of 10 to 12 inches, depending on soil conditions and expected vehicle weight.
Clay-heavy soils common in South Jersey hold moisture and expand during freeze-thaw cycles, which can push pavers upward or create low spots. Removing unstable soil and replacing it with crushed stone creates a stable foundation that drains water away from the surface.
The base layer typically consists of crushed stone, often referred to as dense-grade aggregate or crusher run. This material contains a mix of stone sizes that lock together when compacted, creating a solid platform that distributes weight evenly across the entire surface.
How Excavation Sets the Stage for Success in Buena
Excavation begins with marking the driveway layout and determining the proper slope for water drainage. Most driveways require a minimum slope of one to two percent away from structures to prevent water from pooling near foundations or garage doors.
Heavy equipment removes existing material to the planned depth, taking care to maintain consistent depth across the entire area. Any low spots or soft areas are identified and addressed during this phase. If the soil base is particularly soft or unstable, contractors may excavate deeper and add additional base material.
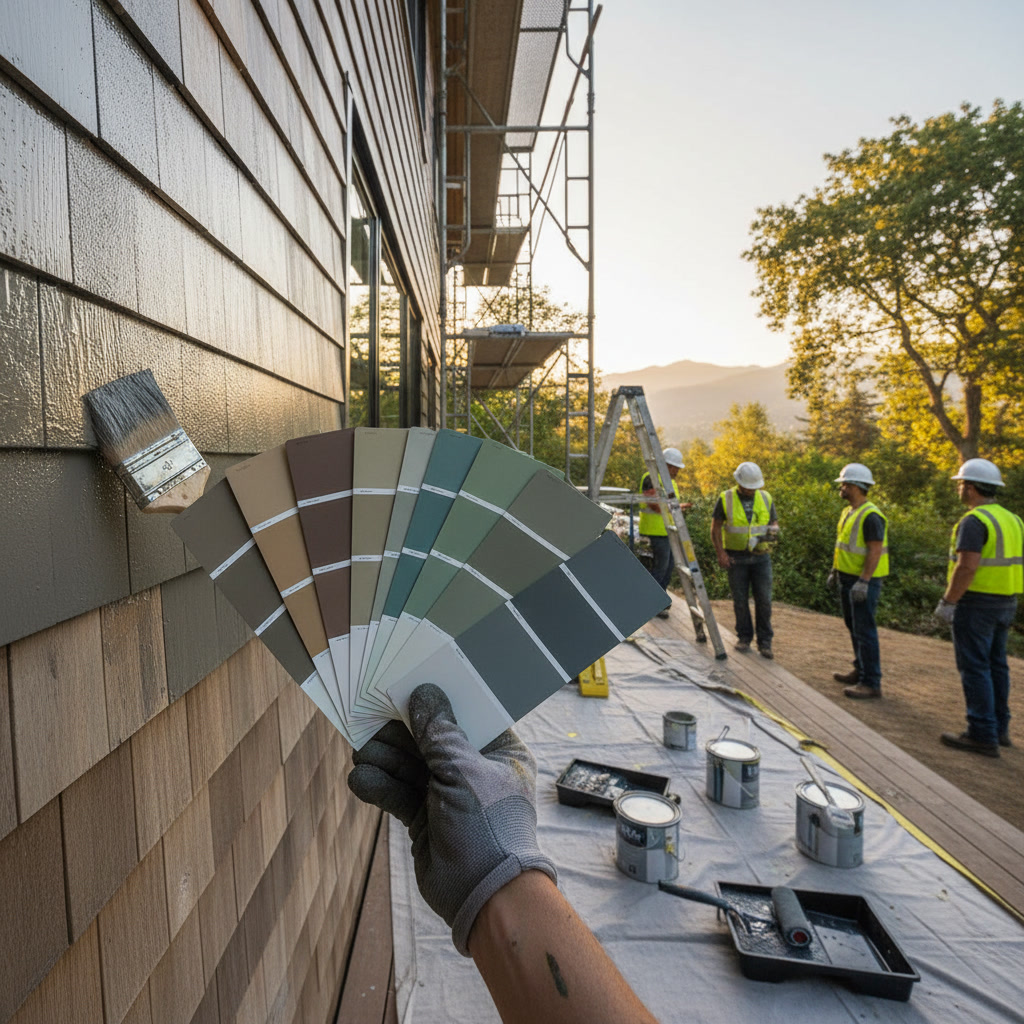
Contractors working on Exterior projects understand that cutting corners during excavation leads to costly repairs later. A stable subgrade is the foundation for everything that follows.
The Role of Geotextile Fabric in Preventing Base Migration
After excavation, many professional installers lay geotextile fabric across the exposed soil. This permeable material separates the base stone from the subgrade, preventing fine soil particles from migrating upward into the base layer over time.
When soil mixes with crushed stone, the base loses its drainage capacity and becomes less stable. Water that cannot drain properly creates hydrostatic pressure beneath pavers, which can cause heaving during freeze-thaw cycles. Geotextile fabric solves this problem by allowing water to pass through while keeping materials separated.
This step is particularly important in areas with heavy clay content or where the water table sits close to the surface. The small additional cost of fabric installation pays long-term dividends by extending the life of the entire driveway system.
What Happens During Base Stone Installation and Compaction
Once the excavation is complete and fabric is laid, crushed stone is spread in layers and compacted using a plate compactor or vibratory roller. Professional contractors add base material in lifts of two to three inches, compacting each layer before adding the next.
Proper compaction is critical. Under-compacted base stone will settle over time, creating depressions and uneven surfaces. Over-compaction in a single thick layer does not achieve the same density as multiple thin lifts compacted individually.
A well-compacted base should reach 95 percent compaction density, which can be verified with a nuclear density gauge on commercial projects. For residential work, experienced contractors rely on visual inspection and the sound and feel of the compactor to assess compaction quality.
The final base surface should be smooth and level, typically sitting about three inches below the planned finished grade to accommodate the bedding sand and pavers.
Installing Edge Restraints That Keep pavers From Shifting
Before placing pavers, contractors install edge restraints along the perimeter of the driveway. These plastic or aluminum strips anchor into the base and prevent pavers from spreading outward over time.
Without edge restraints, the pressure from vehicle traffic pushes pavers away from the center of the driveway, creating gaps and uneven surfaces. Restraints hold the entire paver field in compression, which is essential for the interlocking system to work properly.
Edge restraints are staked into the base at intervals of 12 to 16 inches and should sit flush with the top of the pavers once installation is complete. Some contractors use concrete or soldier course pavers as edging, but manufactured restraints provide superior holding power and are less visible.
How Bedding Sand Creates a Level Surface for pavers
After edge restraints are installed, a one-inch layer of coarse bedding sand is spread across the compacted base. This sand layer allows for minor adjustments in paver height and provides a smooth, level surface for placement.
Contractors use screed rails and a straight board to level the sand to a uniform depth. The sand should not be compacted before pavers are placed. Compacting bedding sand reduces its ability to fill small voids beneath pavers during the final compaction step.
Concrete sand or coarse mason sand works best for this layer. Fine play sand or beach sand does not provide adequate support and can wash away over time. The sand must be dry during installation. Wet sand does not screed evenly and can lead to uneven paver surfaces.
Step-by-Step Paver Placement and Pattern Alignment
Paver placement begins from a straight edge, typically along the house foundation or garage door. Contractors work outward from this reference line, following the chosen pattern such as herringbone, running bond, or basket weave.
Each paver is placed directly onto the bedding sand without sliding or twisting, which can disrupt the leveled sand beneath. Proper joint spacing is maintained using the built-in tabs on most pavers or by ensuring consistent gaps of approximately one-eighth inch.
As the field is laid, contractors periodically check for straightness and pattern alignment using string lines. Small adjustments are made by tapping pavers gently with a rubber mallet. Cutting pavers to fit around curves, edges, or obstacles is done with a diamond blade saw or paver splitter.
Quality Affordable Construction LLC approaches paver installation with attention to pattern integrity and joint consistency, both of which affect the finished appearance and structural performance.
Why Joint Sand and Compaction Lock the System Together
After all pavers are placed, fine joint sand is swept across the surface to fill the gaps between pavers. This sand locks the pavers together and prevents individual units from shifting under load.
Polymeric sand, which contains additives that harden when wet, is often used for driveways because it resists erosion and weed growth better than standard joint sand. Standard silica sand works as well but may require more frequent reapplication.
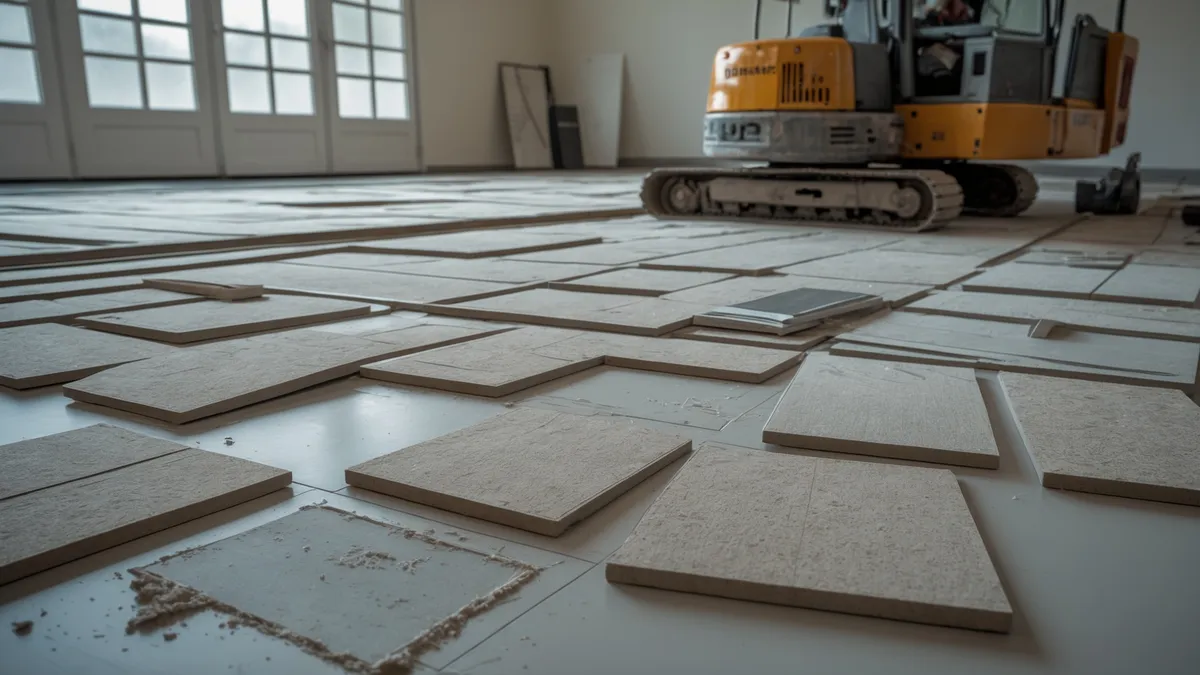
Once joints are filled, a plate compactor with a protective pad is run over the entire surface. This vibration settles the pavers into the bedding sand, ensures full contact with the base, and forces joint sand deeper into the gaps. Additional sand is swept in and the surface is compacted again until joints are completely filled.
This final compaction step is what transforms individual pavers into a unified, interlocking surface. Skipping or under-doing this step leaves pavers loose and prone to movement.
Common Mistakes That Undermine Driveway Longevity
One of the most common mistakes is inadequate base depth. Trying to save money by reducing the base thickness almost always leads to settling and failure. Driveways that support vehicles need the full recommended depth of compacted stone.
Another frequent error is failing to establish proper drainage slope. Water that pools on the surface or collects beneath the base creates ongoing problems. The slope should be planned during excavation and verified at multiple stages during installation.
Using the wrong materials, such as fine sand for the base or play sand for joints, compromises structural integrity. Each layer of the system requires specific materials designed for that purpose.
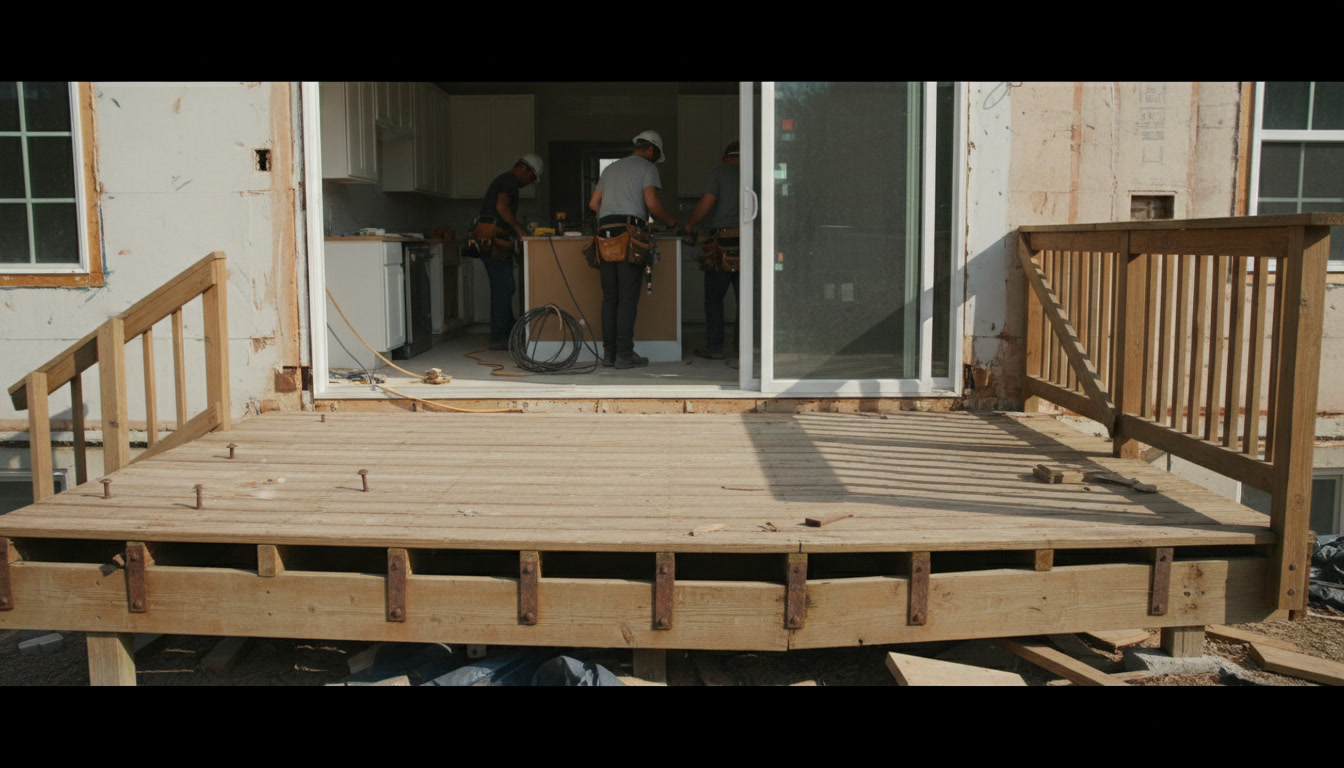
Homeowners considering other hardscape improvements may find similar principles apply to related projects like deck construction, where proper foundation work determines long-term performance.
How Drainage and Grading Prevent Water Damage
Proper grading ensures water moves away from the driveway surface and does not collect beneath the base. During excavation, contractors establish the finish grade and verify that the slope directs water toward appropriate drainage areas such as swales, drains, or permeable landscape zones.
In some cases, perforated drain pipe is installed along the edge of the base to collect and redirect subsurface water. This is particularly important where the driveway sits at the bottom of a slope or in areas with high groundwater.
The permeable nature of a properly installed paver driveway allows water to drain through the joints and into the stone base, reducing surface runoff. However, this only works if the base itself has a path for water to exit. Without proper drainage design, water becomes trapped and creates pressure that destabilizes the entire system.
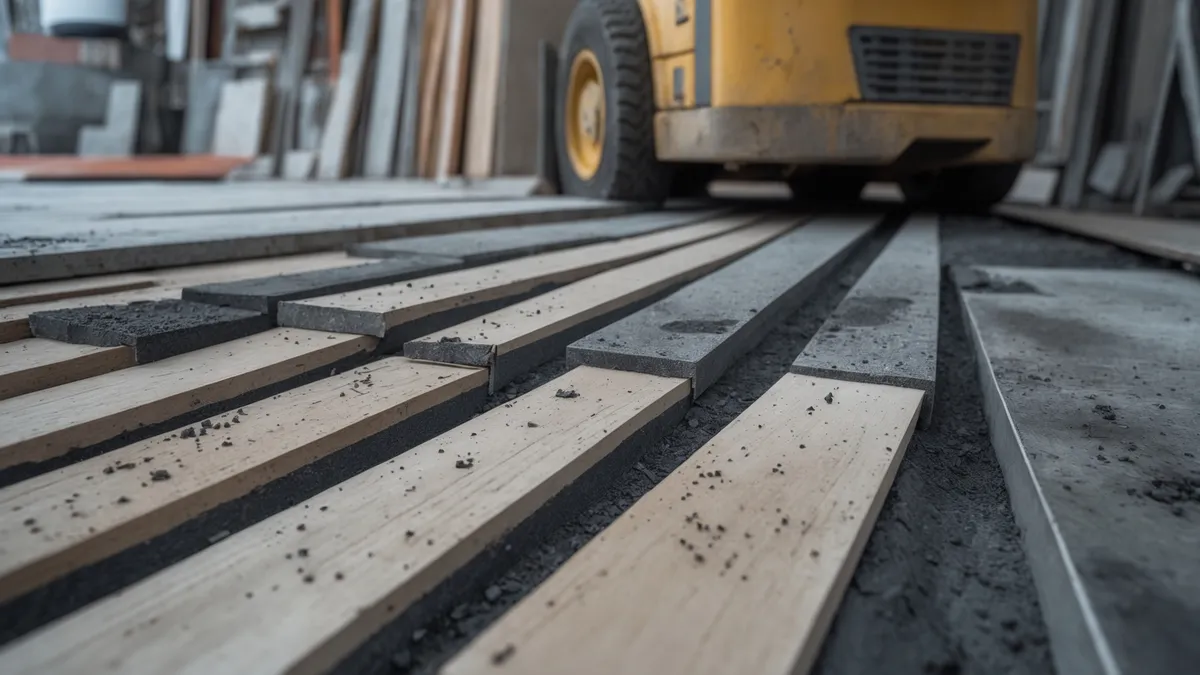
Many of the same water management strategies used in paver installation also apply to interior work. For example, planning proper transitions and underlayment is essential during flooring installation projects to prevent moisture-related failures.
What to Expect After Installation Is Complete
A newly installed paver driveway is ready for light vehicle traffic immediately after final compaction. However, it benefits from a brief settling period before heavy use. Contractors typically recommend waiting 24 to 48 hours before parking large vehicles or equipment on the surface.
Joint sand may settle slightly during the first few weeks as rain and traffic work it deeper into the gaps. Sweeping additional sand into joints as needed during this period is normal and helps maintain the interlock between pavers.
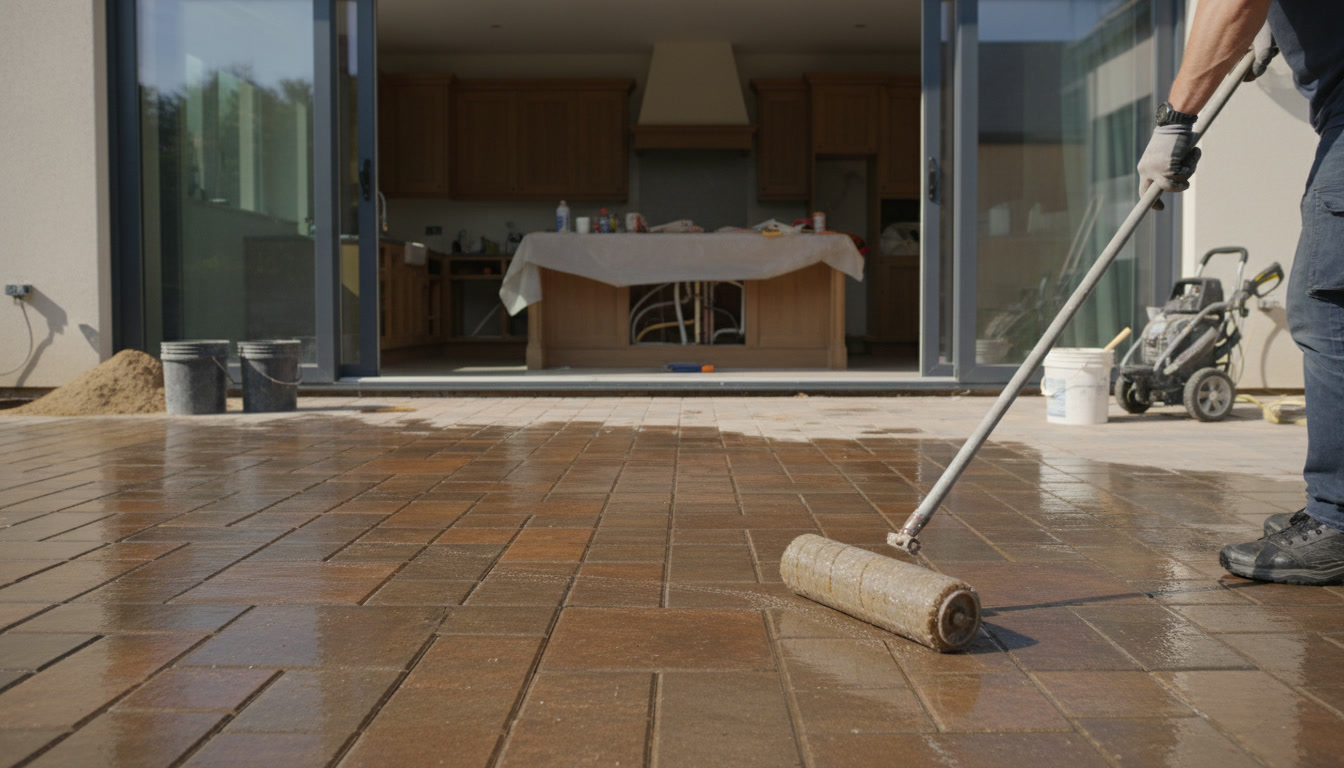
Professional installations come with care instructions that include periodic sweeping, occasional joint sand replenishment, and rinsing to remove debris. Following these simple maintenance steps protects the investment and extends the life of the driveway well beyond the typical 25-year lifespan. Homeowners interested in protecting other exterior surfaces can learn more about when sealing becomes necessary and how it preserves color and surface integrity.
Choosing a Contractor Who Follows the Full Process
A quality paver driveway requires more than just laying stones on the ground. Every phase from excavation through final compaction plays a role in creating a surface that performs well under daily use and seasonal weather extremes. Shortcuts in any phase compromise the entire project.
Experienced contractors understand soil conditions, drainage requirements, and material specifications that affect long-term results. They follow manufacturer guidelines, use appropriate equipment, and take the time to complete each step correctly.
Quality Affordable Construction LLC has been serving property owners throughout South Jersey since 2017, delivering durable paver installations backed by two decades of hands-on construction experience. Our structured approach ensures every project is built on solid groundwork and completed with attention to the details that matter most.
If you’re planning a driveway upgrade or need expert guidance on paver installation, reach out to our team at (609) 592-3410. We provide clear pricing, dependable timelines, and workmanship that stands the test of time across Egg Harbor Township and surrounding communities.