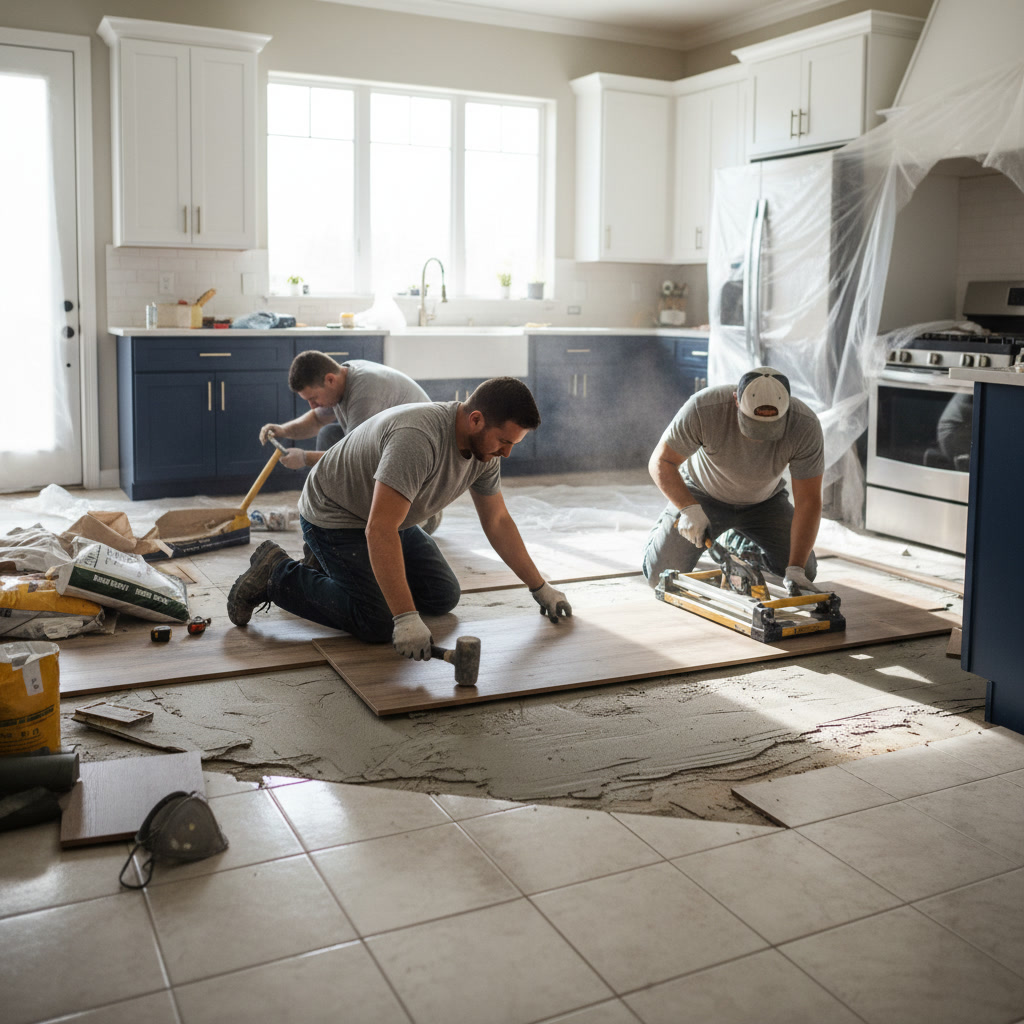
Installing new kitchen flooring over existing floors follows a specific sequence of preparation, assessment, material selection, and installation. The kitchen flooring installation process begins with evaluating whether your current floor can support an overlay, followed by surface prep, moisture testing, height adjustments at doorways and appliances, and finally laying the new material with appropriate underlayment. Success depends on subfloor condition, moisture levels, and proper height clearances.
Why Homeowners Consider Installing Over Existing Floors
Removing old flooring creates mess, generates disposal costs, and adds labor hours. Many homeowners want to avoid the dust, noise, and downtime that comes with tearing out ceramic tile, vinyl, or laminate. Overlay installation cuts project time by 30 to 50 percent in many cases, which matters when you need your kitchen functional again quickly.
Cost savings motivate the decision as well. Demo and haul-away fees can add $500 to $1,500 depending on material type and square footage. When the existing floor provides a stable, level base, building on top makes financial sense. However, not every kitchen qualifies for this approach, and skipping necessary removal leads to problems down the road.
When Overlay Installation Works and When It Doesn’t
Overlay works best over solid, well-adhered surfaces like ceramic tile, sheet vinyl in good condition, or existing laminate that’s firmly attached. The existing floor must be level within 3/16 inch over a 10-foot span. Any more deviation creates visible waves, gaps under planks, or premature wear.
You cannot install over floors with water damage, soft spots, or loose sections. Damaged subfloors telegraph problems upward, causing new flooring to buckle, crack, or delaminate. Similarly, cushioned vinyl or thick underlayment pads compress unevenly, which voids most manufacturer warranties. If your current floor flexes when you walk on it or shows signs of mold, removal is the only safe option.
Height is another limiting factor. Adding a new layer raises the finished floor by 1/4 inch to 3/4 inch depending on material and underlayment. This affects appliance fit, cabinet toe kicks, door swings, and transitions to adjacent rooms. Measure carefully before committing to overlay.
Step One: Surface Inspection and Moisture Testing in Egg Harbor Township
Professional contractors start by walking the entire kitchen to identify loose tiles, hollow spots, and surface irregularities. A simple tap test with a rubber mallet reveals voids beneath tile. Any hollow sound means the tile has lost bond and must be re-adhered or removed.
Moisture testing follows inspection. Concrete subfloors, common in slab-on-grade homes across Egg Harbor Township, require calcium chloride tests or relative humidity probes. Readings above three pounds per 1,000 square feet per 24 hours indicate excess moisture that will damage wood-based flooring and many adhesives. Wooden subfloors need moisture meter readings below 12 percent for safe installation.
If you’re planning a broader kitchen remodeling project, this is the time to address plumbing leaks, improve subfloor ventilation, or upgrade underlayment for better moisture protection.
Step Two: Cleaning and Leveling the Existing Surface
Dirt, grease, and wax prevent proper adhesion. Installers scrub the floor with a degreasing cleaner and rinse thoroughly. Any residue left behind compromises adhesive performance, especially with luxury vinyl plank or engineered hardwood.
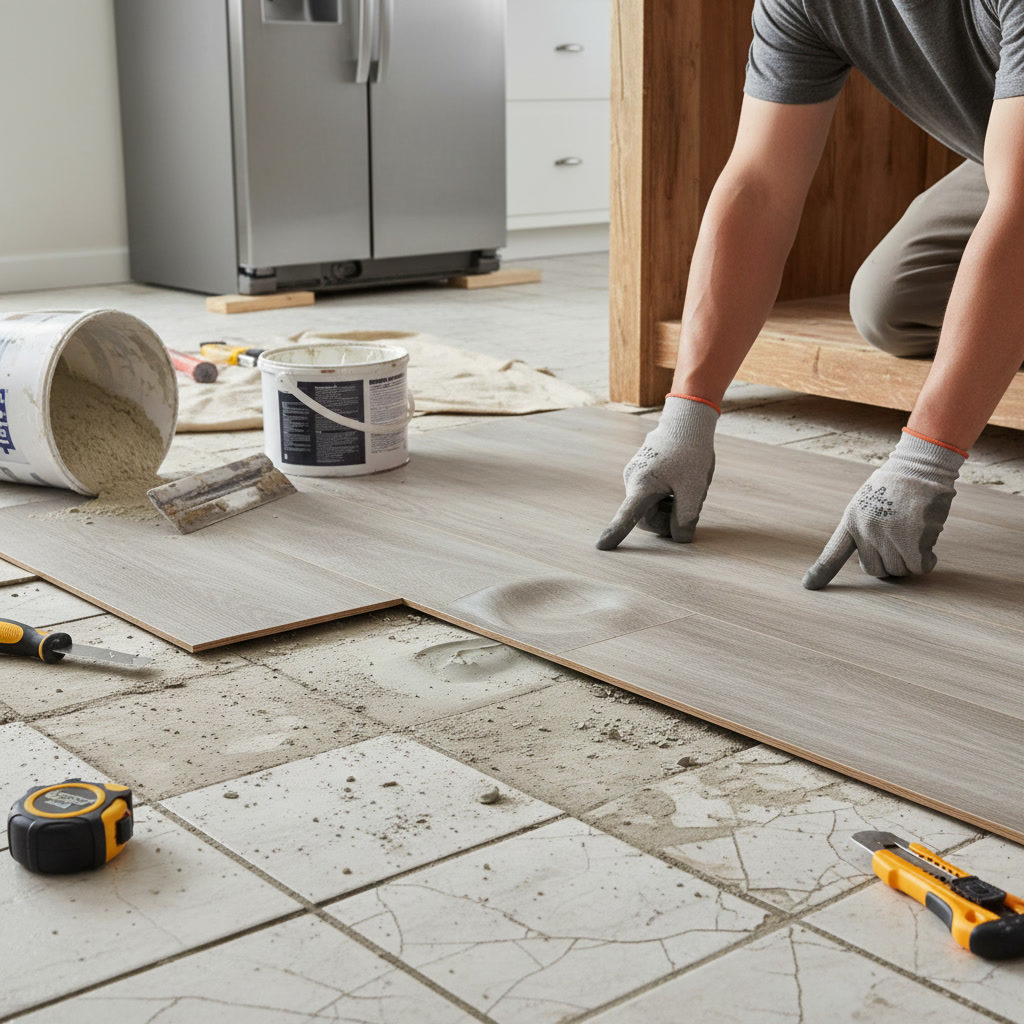
Low spots deeper than 1/8 inch require floor patch or leveling compound. High spots get ground down with a concrete grinder or belt sander. Grout lines in ceramic tile often need filling with floor patch to create a smooth plane, particularly when installing thin vinyl or laminate. Skipping this step leaves visible grout shadows and creates weak points where planks can crack.
Roughening glossy surfaces improves mechanical bond. A floor buffer with 80-grit screen or sanding pad scratches the glaze on old tile or the finish on sealed vinyl, giving primer and adhesive something to grip.
Step Three: Selecting Compatible Underlayment and Materials
Underlayment choice depends on the new flooring type and the existing surface. Floating floors like laminate and some luxury vinyl planks need foam or cork underlayment for sound dampening and minor leveling. Glue-down products often require no separate underlayment, but a primer coat helps adhesion over non-porous surfaces like ceramic tile.
Thickness matters. Standard foam underlayment runs 2mm to 3mm, while premium cork or rubber options reach 6mm. Thicker pads add comfort but also raise floor height and increase the risk of movement under heavy foot traffic. Verify that your chosen underlayment is approved by the flooring manufacturer for overlay installations.
Material compatibility is critical. Not all flooring products work over every existing surface. Engineered hardwood, for instance, performs poorly over cushioned vinyl due to the soft layer beneath. Check manufacturer installation guides or consult with a team experienced in flooring installation and renovation to avoid warranty issues.
Step Four: Managing Height Transitions and Door Clearances
Adding floor thickness creates transitions at doorways, appliances, and adjacent rooms. Standard interior doors need 1/2 inch to 3/4 inch clearance above finished flooring. If your new floor raises the surface too much, doors require trimming from the bottom.
Appliances present a bigger challenge. Dishwashers, ranges, and refrigerators fit into specific height openings under countertops. Raising the floor by 1/2 inch can prevent a dishwasher from sliding back into place or force you to adjust cabinet legs. Measure appliance clearances before installation begins.
Transition strips bridge the height difference between the kitchen and hallway or living area. Metal or wood reducers taper from the higher floor to the lower one, creating a safe, code-compliant slope. Quality installation includes securing these strips firmly to prevent trip hazards and rattling.

Step Five: Installing the New Floor Over the Prepared Base
Installation method varies by product. Floating floors snap together without adhesive, relying on friction and the floor’s own weight to stay in place. These systems expand and contract with temperature and humidity, so a 1/4-inch expansion gap along walls is mandatory. Baseboards or quarter-round molding cover the gap.
Glue-down products use trowel-applied adhesive rated for the substrate. Trowel notch size controls adhesive spread, with deeper notches for porous surfaces and shallower ones for dense tile. Installers work in sections, setting flooring into wet adhesive and rolling with a weighted roller to eliminate air pockets.
Click-lock luxury vinyl installs quickly, often completing a standard kitchen in one day. Patterns should run perpendicular to the longest wall for visual appeal and structural stability. Stagger end joints by at least six inches to distribute load and prevent pattern repetition.
Step Six: Addressing Appliance Reinstallation and Final Details
Once flooring is down, appliances return to position. Dishwashers may need shims under the front feet to maintain level after the floor raises. Refrigerators with built-in water lines require careful maneuvering to avoid kinking supply tubes.
Baseboards and trim get reinstalled or replaced to cover expansion gaps. Caulking between the flooring edge and cabinet toe kicks creates a finished look and prevents debris buildup. Avoid caulking the expansion gap along walls, as this restricts necessary movement and can cause buckling.
Threshold transitions at exterior doors need careful attention. The new floor must not trap water against the door sill or create a dam that directs moisture under the flooring. Proper flashing and sealant application at these vulnerable points prevents long-term damage.
Common Mistakes That Compromise Overlay Installations
The biggest error is ignoring subfloor problems. Installing over a compromised base simply hides damage until it worsens. Soft spots, water stains, and hollow areas always require correction before new flooring goes down.
Skipping moisture testing is the second most common mistake, particularly in coastal areas. Homes near the shore experience higher ambient humidity, and concrete slabs can wick moisture from the ground. Even a small amount of trapped moisture warps wood products and degrades adhesives within months.
Inadequate surface prep leads to bonding failures. Dust, grease, or old wax create a barrier between adhesive and substrate. Professional installers vacuum thoroughly, wipe with tack cloths, and verify surfaces are clean and dry before spreading adhesive or laying underlayment.
Failing to account for height changes creates appliance fit issues and door problems discovered only after installation is complete. Measure twice, install once. If you’re considering other upgrades during your renovation, such as new cabinets or countertops, coordinating these elements prevents costly rework. Resources like our guide on planning a kitchen remodel from start to finish help you sequence tasks correctly.
How Long Overlay Installation Takes Compared to Full Removal
A typical 150-square-foot kitchen takes one to two days for overlay installation when conditions are ideal. This includes surface prep, underlayment, flooring, and trim. Full removal and replacement extends the timeline to three to five days due to demo, disposal, subfloor repair, and additional drying time for adhesives or leveling compounds.
Larger kitchens or those with complex layouts take longer. Islands, angled walls, and multiple doorways increase cutting and fitting time. Custom patterns or herringbone layouts add another day regardless of installation method.
Drying and curing time varies by product. Some luxury vinyl planks allow immediate light foot traffic, while glue-down installations need 24 to 48 hours before heavy use. Epoxy-based adhesives cure faster than water-based options but require better ventilation during application.
Material Choices That Work Best Over Existing Floors
Luxury vinyl plank and luxury vinyl tile rank as the most forgiving overlay options. These products tolerate minor subfloor imperfections, install quickly, and resist moisture better than wood-based alternatives. Thickness ranges from 2mm to 8mm, with thicker planks offering better durability and sound dampening.
Laminate flooring works well over ceramic tile or solid vinyl when properly leveled. Modern laminates include attached underlayment, simplifying installation. However, laminate is less moisture-resistant than vinyl, making it a poor choice for kitchens prone to spills or humidity issues.
Engineered hardwood provides a premium look but demands stricter installation conditions. The existing floor must be perfectly level, moisture levels tightly controlled, and height increases carefully managed. For those considering various materials, our post on the best flooring options for coastal homes covers durability and moisture resistance in detail.
Getting Professional Results on Your Kitchen Floor
Proper overlay installation delivers a floor that looks great and lasts for years without the mess and cost of full removal. The process requires careful assessment, thorough prep, correct material selection, and attention to height transitions. Skipping steps or ignoring subfloor issues creates problems that surface within months, turning a cost-saving decision into an expensive do-over.
Quality Affordable Construction LLC has installed flooring over existing surfaces in hundreds of South Jersey kitchens since 2017, backed by 20 years of hands-on experience. Our team evaluates your subfloor condition, tests for moisture, selects compatible materials, and manages every detail from appliance clearances to door adjustments. Whether you’re updating a home in Mays Landing or renovating a property in Ocean City, we deliver flooring that performs. Call +16095923410 to schedule an assessment and get a clear, honest estimate for your kitchen flooring project.