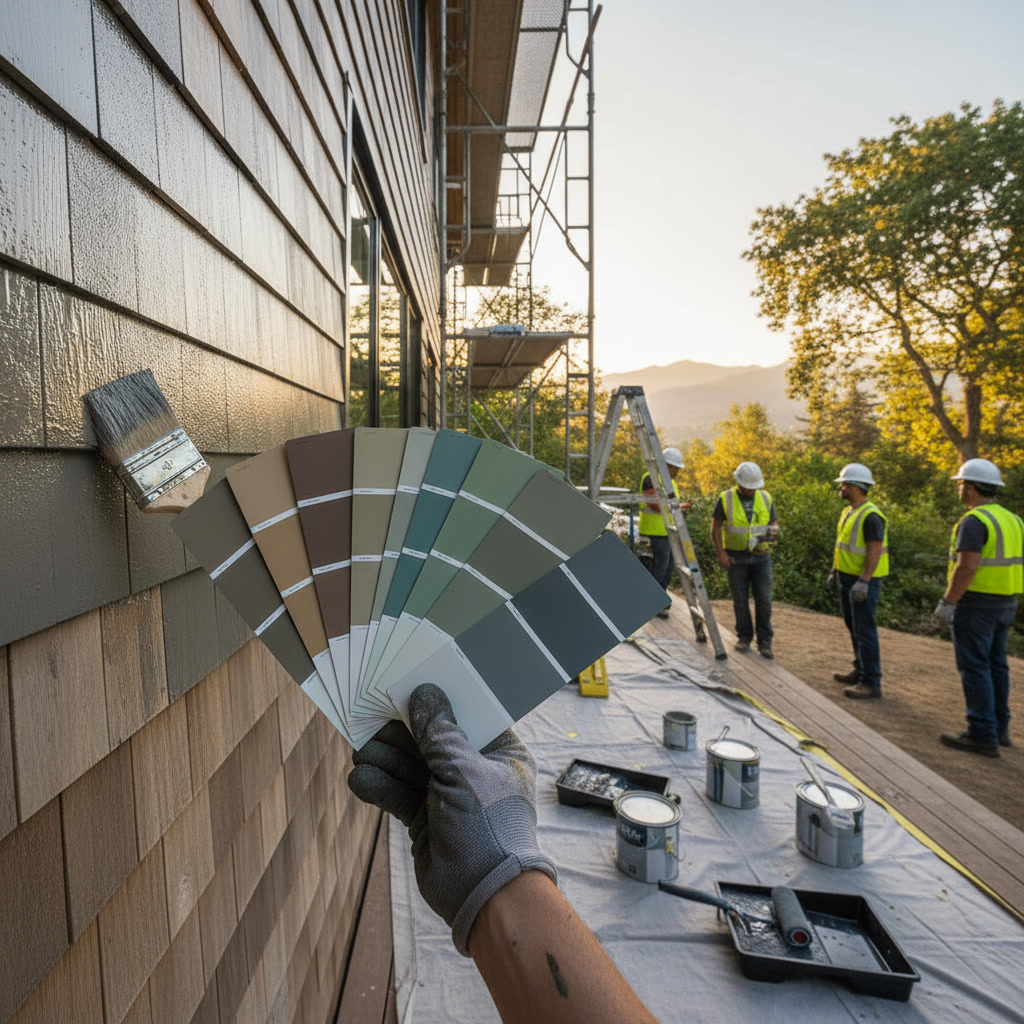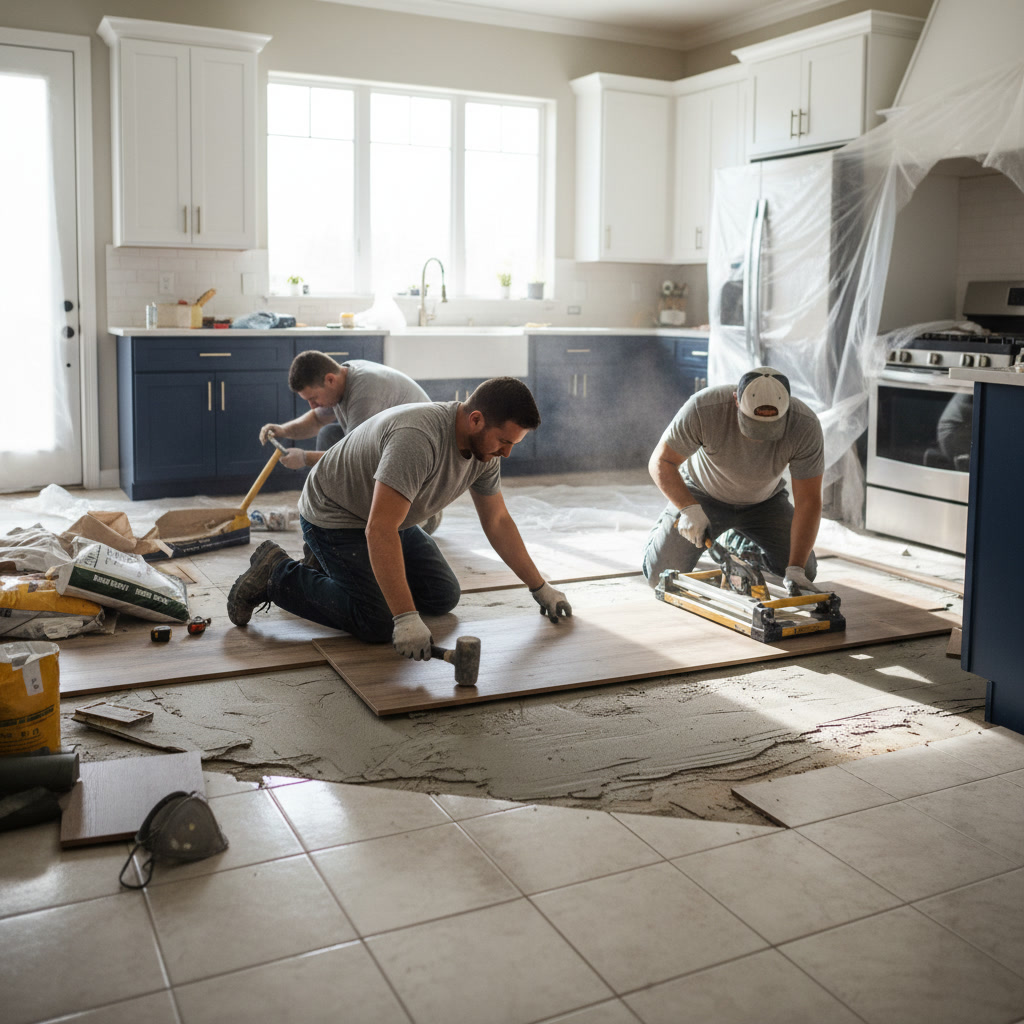
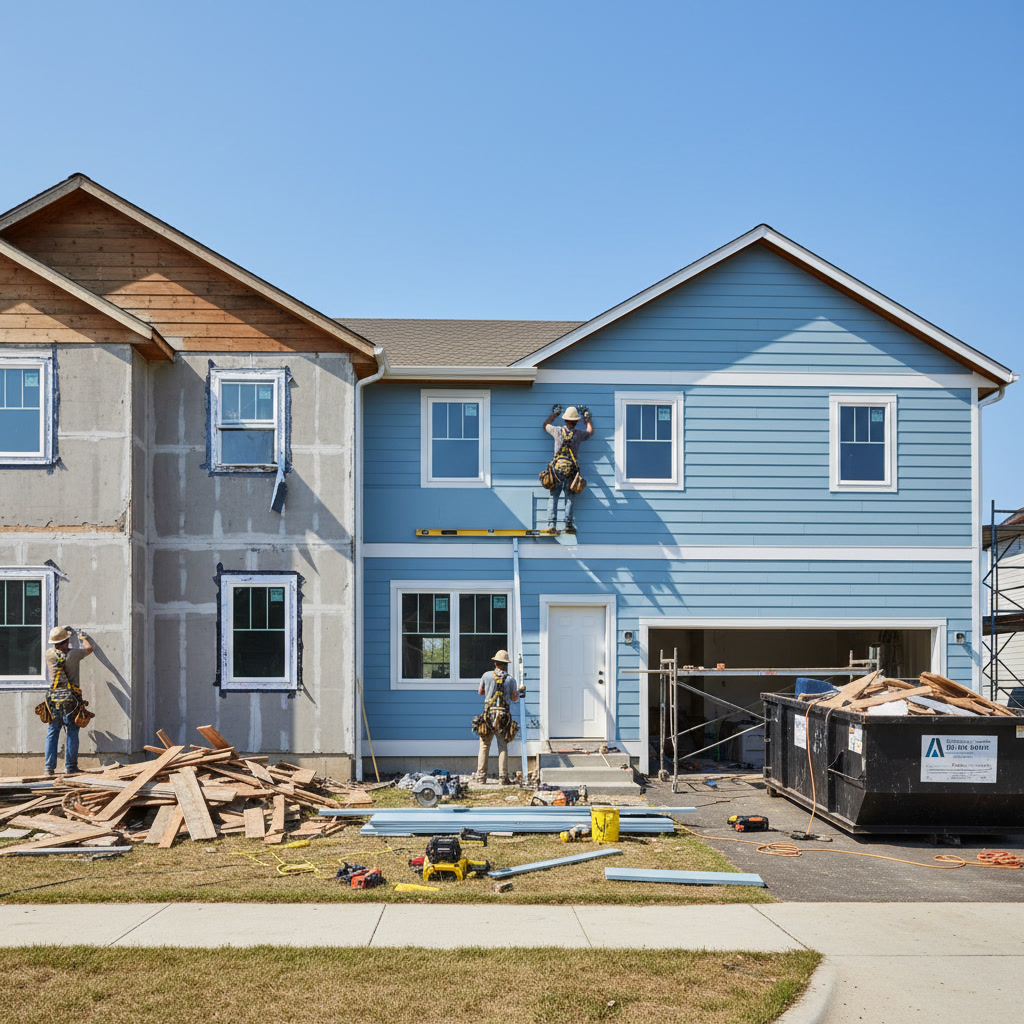
The siding installation process involves five key stages: removing existing materials, inspecting and repairing the substrate, installing weatherproofing layers, mounting new siding panels with proper fastening techniques, and finishing with trim and caulking. Professional crews typically complete most residential projects in five to ten days, depending on home size and material choice. Understanding each phase helps you prepare your property and recognize quality workmanship as the project progresses.
Why New Siding Changes More Than Appearance
Fresh siding does more than update curb appeal. It creates a weatherproof barrier that protects your home’s structural components from moisture, wind, and temperature extremes. Modern siding materials improve insulation values, reduce air infiltration, and lower heating and cooling costs by 15 to 25 percent compared to deteriorated or outdated products.
Homes built before 2000 often have siding that lacks the advanced engineering found in current fiber cement, vinyl, and engineered wood options. Newer products resist warping, cracking, and fading far better than materials installed 20 or 30 years ago. The investment pays off through lower maintenance requirements and longer replacement cycles.
What Happens Before the First Panel Goes Up
Preparation determines project success. Contractors begin by documenting existing conditions with photos and measurements. They identify problem areas such as water stains, soft spots, or insect damage that require attention before new siding goes on. This inspection stage prevents hidden issues from worsening under fresh materials.
Next, the crew protects landscaping, outdoor fixtures, and entry points with tarps and plywood shields. They establish safe work zones and stage materials in locations that minimize property disruption. Quality teams also verify material deliveries match specifications and check each bundle for defects or damage before installation begins.
Removing Old Siding Without Damaging the Structure
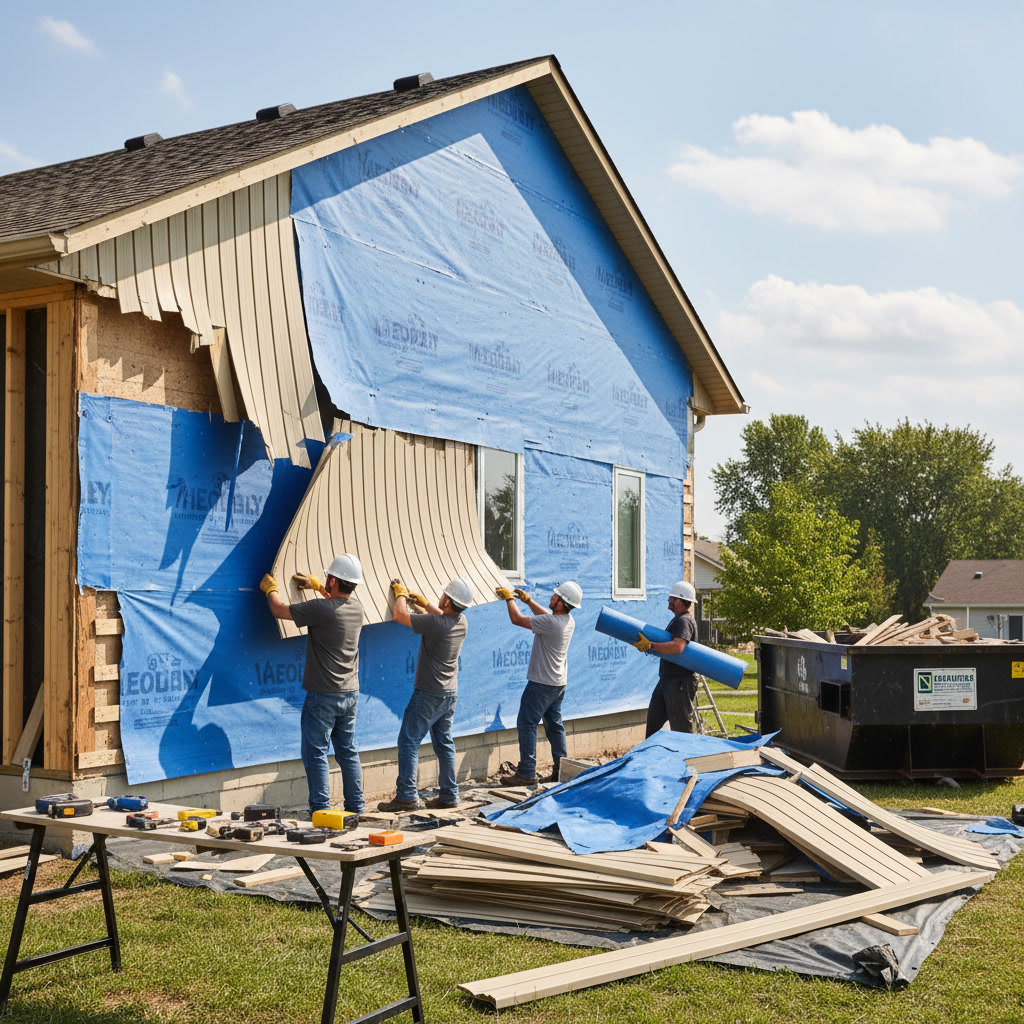
Removal requires care to avoid harming the sheathing beneath. Experienced crews use flat pry bars and specialized siding removal tools that separate panels from fasteners without splintering wood or tearing house wrap. They work from top to bottom in controlled sections, inspecting each layer as it comes off.
Old siding often hides surprises. Rotted sheathing, missing insulation, or outdated wiring may appear once the exterior layer is gone. Professional installers pause to address these issues immediately rather than covering them up. This approach prevents callbacks and ensures the new siding rests on a sound foundation.
Debris removal happens continuously throughout this phase. Crews load old materials into trailers or dumpsters as they work, keeping the site clean and reducing safety hazards. Proper disposal also meets local regulations for construction waste in most South Jersey municipalities.
Inspecting and Repairing the Wall Surface in Absecon
Once old siding is off, the substrate receives a thorough inspection. Contractors check for rot, mold, structural movement, and moisture intrusion. Any compromised sheathing gets cut out and replaced with new OSB or plywood that matches the original thickness and grade.
Flashing around windows, doors, and roof intersections often needs updating. Modern step flashing and drip edge products channel water away from vulnerable seams far more effectively than older metal or tar paper methods. Installers also verify that window and door frames are square and properly sealed before moving forward.
This stage may extend the project timeline by a day or two if significant repairs are needed, but skipping it leads to premature siding failure and interior water damage. Quality Affordable Construction LLC prioritizes substrate integrity because a solid base extends siding lifespan by years.
Installing Weather Barriers and Moisture Protection
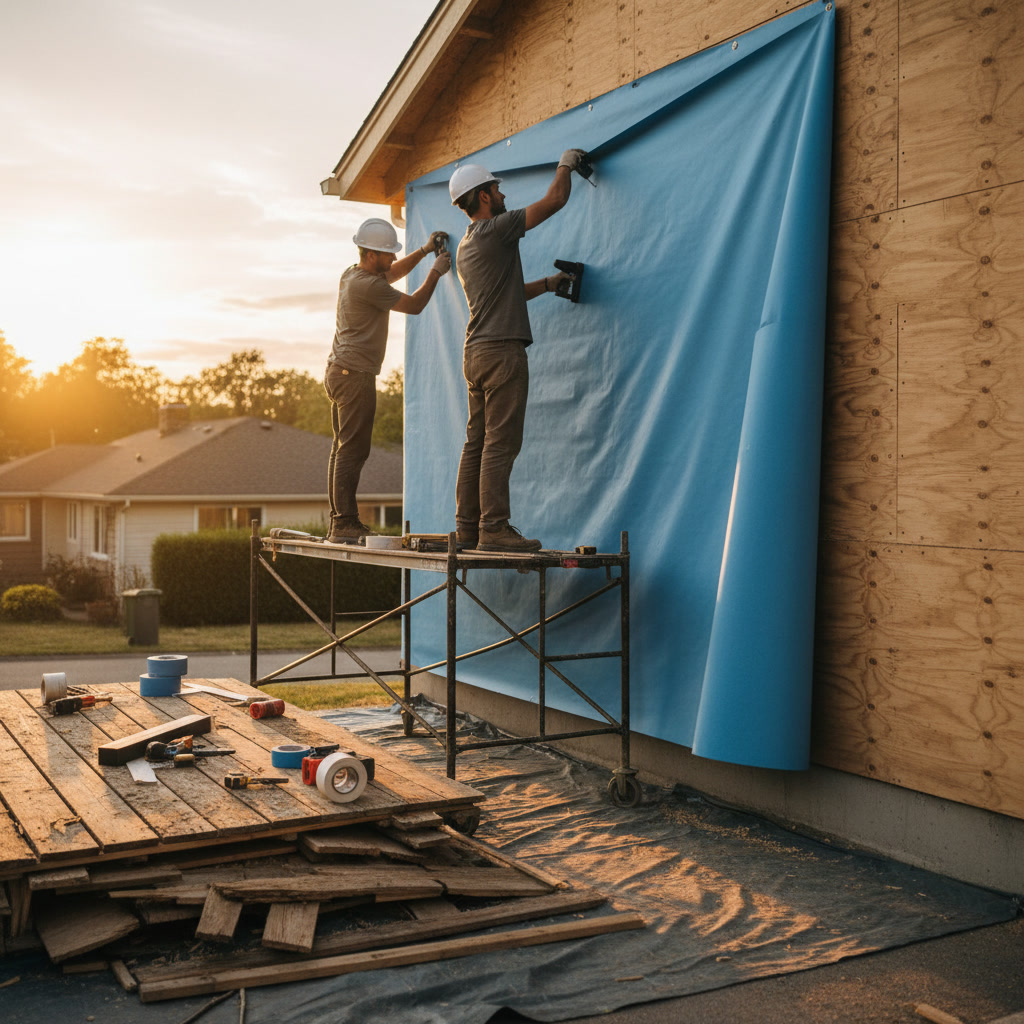
House wrap or another approved water-resistive barrier goes on next. Installers begin at the bottom of each wall and work upward, overlapping seams by at least six inches to create a shingled effect that sheds water. They use cap staples or roofing nails spaced according to manufacturer guidelines, avoiding over-fastening that can tear the material.
Seams, corners, and penetrations receive special attention. Contractors tape all seams with compatible adhesive tape and wrap house wrap at least 12 inches around corners. They integrate flashing tape around windows and doors, creating a continuous drainage plane that directs water down and out, never into the wall cavity.
In coastal areas, where wind-driven rain is common, some installers add a secondary drainage mat between the house wrap and siding. This creates an air gap that accelerates drying and prevents moisture from being trapped against the sheathing. The extra step adds minimal cost but significantly improves long-term performance.
Mounting the First Course and Establishing Level Lines
The starter strip or first course sets the foundation for everything above it. Installers snap chalk lines to ensure the base is perfectly level, checking with a four-foot level every few feet. Even a small deviation here multiplies as rows stack, resulting in wavy siding lines that look unprofessional and may not lock together properly.
For vinyl and fiber cement, the starter strip mounts directly to the sheathing at a consistent height above grade. This establishes proper drainage clearance and prevents ground moisture from wicking into the panels. The first row of siding snaps or nails into this strip, with fasteners placed in the center of nail slots to allow for thermal expansion and contraction.
Wood and engineered wood siding require slightly different techniques. Installers often use a bevel-backed starter strip or a thicker trim board to create the proper angle for the first course. Fasteners must penetrate studs or blocking at least one and a quarter inches to resist wind uplift and impact.
Installing Full Panels With Proper Fastening and Overlap
Each subsequent row builds on the one below. Installers maintain consistent reveal, which is the amount of siding exposed to weather. For lap siding, this is typically four to six inches. Panels must overlap enough to shed water but not so much that they create bulges or uneven lines.
Fastener placement is critical. Nails or screws go through the nail hem or flange, never through the face of the siding, unless the product specifically allows it. Over-driven fasteners crush the material and restrict movement, leading to buckling or cracking. Under-driven fasteners let panels rattle loose in high winds.
Experienced crews stagger vertical seams by at least 16 inches from row to row, creating a random pattern that looks natural and prevents water from tracking down a single column. They also leave small expansion gaps at inside and outside corners, allowing materials to expand and contract with temperature changes without warping.
Cutting Around Windows, Doors, and Utilities
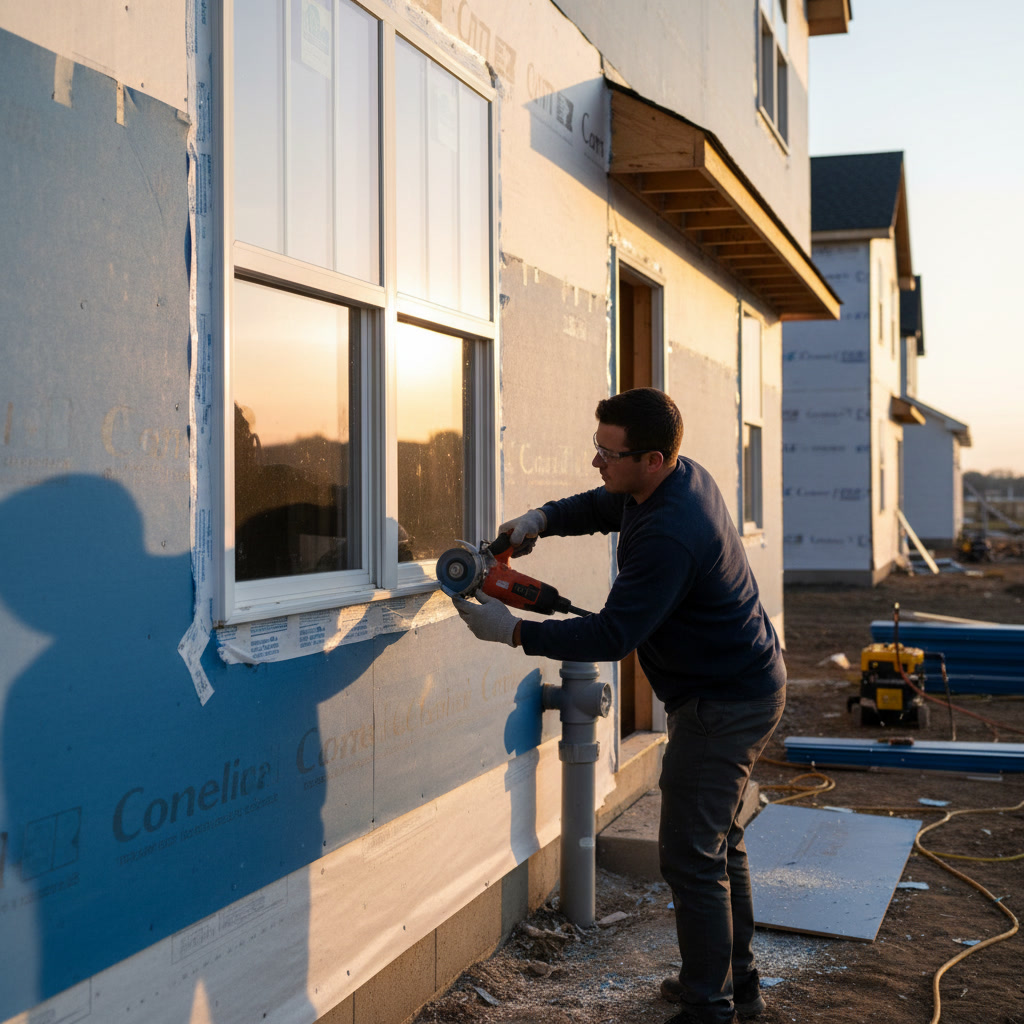
Openings require precision cutting and custom flashing. Installers measure each window and door, then cut siding panels to fit snugly around the frames. They leave a quarter-inch gap for caulking, which seals the joint while allowing slight movement.
Flashing above windows and doors is especially important. J-channel or head flashing directs water away from the top of the opening, preventing it from seeping behind the siding. Side channels guide water down and away, never into the wall cavity. Corners and seams in the flashing overlap in the correct direction to maintain the drainage plane.
Utility penetrations such as dryer vents, electrical meters, and hose bibs get similar treatment. Installers cut holes slightly larger than the fixture, then flash around it with flexible membrane or metal flashing. They seal the perimeter with high-quality exterior caulk rated for long-term UV and moisture exposure.
Adding Trim, Corners, and Finishing Touches
Trim work defines the finished look. Outside corners get covered with matching corner posts or mitered siding, depending on the material and style. Inside corners use J-channel or corner trim that neatly receives panel ends and creates clean lines.
Window and door trim, also called casing, frames each opening and covers the gap between siding and the window or door itself. Installers select trim profiles that complement the siding style and apply them with the same attention to fastening and weather resistance as the siding itself.
Soffits and fascia often get replaced or refreshed during siding projects. Vented soffit panels improve attic ventilation, reducing heat buildup and extending roof lifespan. Fascia boards provide a clean edge at the roofline and offer a mounting surface for gutters. Coordinating these elements with the siding creates a cohesive, polished appearance.
Similar to exterior projects that involve multiple trades, siding work benefits from coordinating trim details with other home components like gutters, lighting, and ventilation systems.
Final Inspection and Quality Checks
Before calling the job complete, the crew performs a detailed walkthrough. They check every seam, corner, and penetration for proper flashing, caulking, and fastening. They verify that all panels are secure, level, and properly aligned. Any loose or damaged pieces get replaced immediately.
Contractors also inspect for cosmetic issues such as scratches, dents, or color mismatches. High-quality installers address these details without being asked because they understand that the finished product represents their reputation. They clean up debris, remove protective coverings, and restore landscaping to its original condition.
A final inspection with the homeowner allows both parties to review the work together. This is the time to ask questions, point out any concerns, and confirm that the project meets expectations. Reputable contractors welcome this step and provide documentation such as warranty information and care instructions for the new siding.
Just as careful planning matters when you plan a kitchen remodel from start to finish, thorough final inspections ensure exterior upgrades deliver lasting performance and visual appeal.
Protecting Your Investment After Installation
New siding performs best when properly maintained. Rinse it twice a year with a garden hose to remove dirt, pollen, and salt spray. Avoid pressure washers set above 1,500 psi, which can force water behind panels or damage surface finishes. Check caulking annually and reapply where gaps appear, especially around windows, doors, and trim.
Inspect for loose or damaged panels after severe storms. High winds can lift corners or edges, and hail can dent or crack certain materials. Catching damage early prevents water intrusion and keeps repair costs low. Most siding products carry warranties that cover material defects, but proper installation and maintenance are usually required to keep coverage valid.
Trim back vegetation that touches siding. Branches, vines, and shrubs hold moisture against the surface and create pathways for insects. Maintain at least 12 inches of clearance between plants and siding, and ensure downspouts and grading direct water away from the foundation.
Quality Affordable Construction LLC has completed hundreds of siding projects across South Jersey since 2017, refining methods that deliver consistent results. Professional installation protects your home and eliminates the guesswork that often leads to costly callbacks or premature failure.
If your home shows signs of siding deterioration, or you’re ready to update its exterior appearance and efficiency, our team provides clear estimates and dependable service throughout Atlantic City, Ocean City, and surrounding communities. Reach out at +16095923410 to discuss your project and schedule a site evaluation.